I found this DIY idea on Be Different Act Normal's blog and I thought I would try this project out myself. I also discovered how popular chalkboard paint was and I even learned that there is paint to make a dry erase surface. Who knew? Not only can you use the paint for practical things around the house such as making your own chalkboard for the kids to play with but you can make them as cute little gifts as well. What a cute teacher's gift don't you think? Ideas are limitless with this stuff - did you know some people even paint a whole wall using this paint?
Supplies:
Plate - lots of cute options at Homegoods, thrift stores, or your own cupboard
Painter's Tape
Chalkboard Paint - sold in paint can or spraypaint can
Newspaper/Cardboard - keep the over spray at bay
Glove - keep the hands paint free
Mask - so you can breathe healthy air
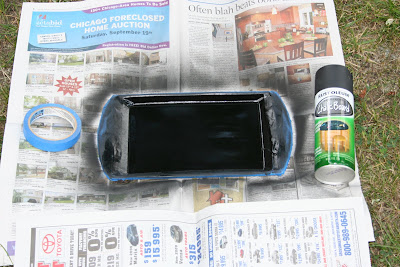
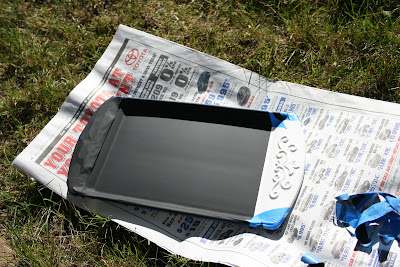
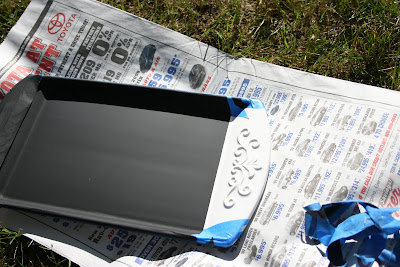
 First you will want to tape off the area that you don't want to get paint on with painter's tape.
  Following the instructions on the can, you will want to paint the area you want the chalkboard paint on. I recommend keeping the spray can about 10 inches from the surface and make sure you keep the can moving the entire time to ensure an even coat. Apply 2-3 thin coats.
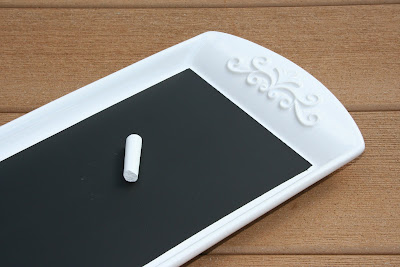
 After the paint has dried, remove the painter's tape and admire your work. Ohh's and ahh's are welcomed and encouraged at this time.
To display your chalkboard plate, use a plate or picture frame holder.
Please note - I had no patience and used the only holder I had in the house; it's not the right size or color but this was only used to show you my work so don't hold it against me please.


5 comments:
Very, very cute! You did a great job and it looks so sweet on your counter!
Nancy
Love it Melissa!
It looks great in your kitchen ;)
Oh my that is so so cool! I have to do this!
Very nice. What a neat idea.
I am revisiting some of your previous DIY posts and I MUST find a way to do this project. I love it.
Post a Comment