Here's a quick recap of our little laundry room transformation:
- On Day 1 they demoed the area and moved all of the plumbing to gain our extra 6 inches of space.
- On Day 2 they built the new wall and began drywalling the area.
- On Day 3 they finished putting up the drywall, cut and laid out the tiles, installed the can lights, and assembled the cabinets.
- On Days 4-5 the tiles were grouted, the drywall finished drying, the walls were primed/painted, cabinets were installed along with the filler, and last but not least the new washer and dryer were installed.
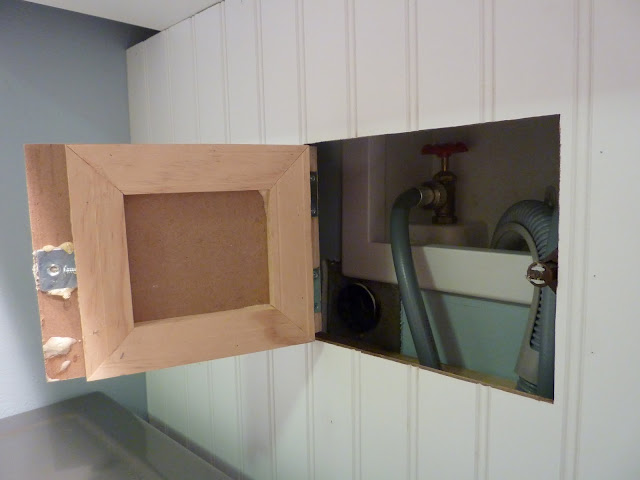
- And last but not least bead board was just added to hide the ugly 220 volt outlet and some of the plumbing with a little access panel.
Concealing all of that necessary but unattractive stuff!
P.S. Sorry the pictures are a bit dark.....the bead board went up today and I couldn't wait a second longer to share the complete project with you. I hope you forgive me and have enjoyed the process as much as we have. With that I am off to find something to wash.....


5 comments:
Yahoo! I've been so excited to see the laundry room. It looks so pretty. I love it!!!
Still shocked how fast everything drys. Now I think we need a little granite tops and we will be golden.
Dave
It looks fantastic. I will bring over a few loads for ya!! :D
It looks amazing! I love your choices of color.
Wow Melissa! That turned out amazing!!! Love the beadboard. Great job on the whole project!
Post a Comment